Do you ever wonder how some people come up with the most amazing designs, seemingly “just like that”? Well, I can tell you, very few people can go straight to their claying table and just knock out these pieces. They will have thought long and hard about their ideas and designs, had trials and errors along the way, and we only get to see the result of all their hard work.
This article is about the design process rather than good ‘design’ per se, which Ginger at The Blue Bottle Tree covers well on her blog “The Muse” here.
How do you come up with new unique designs that will appeal?
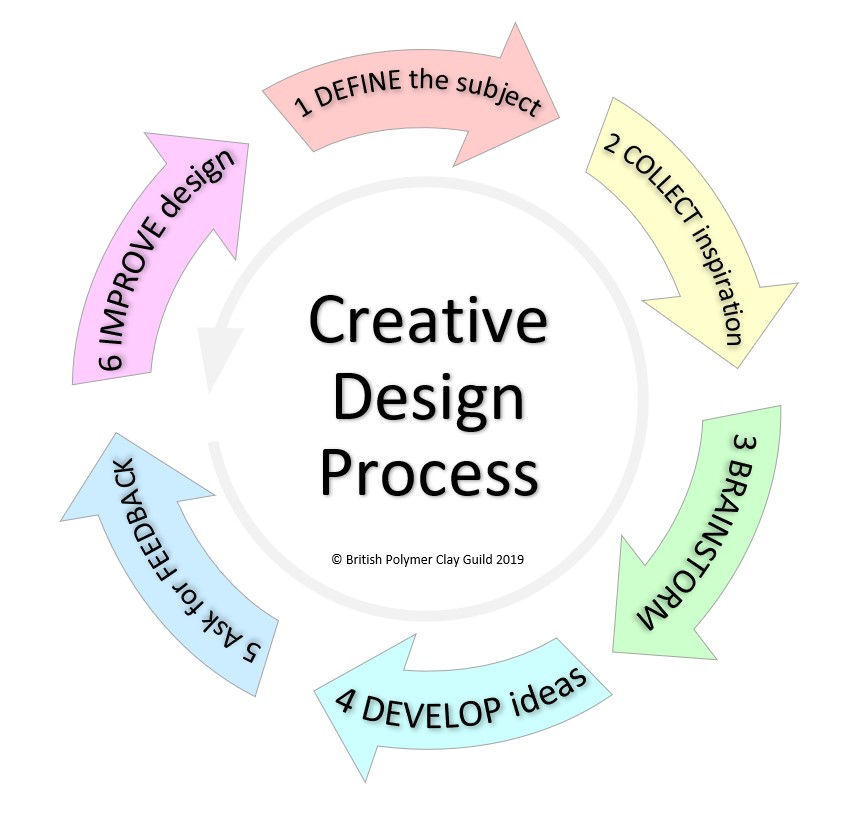
1. DEFINE the subject
What are you going to make? Jewellery, sculpture, miniatures, tutorials (written or video) or wall art? Is it a one-off or part of a collection? Who is the intended recipient? Is it for you, a commission or for selling? Do you have a starting point? Are you following a theme – is it seasonal, meeting a customer brief or for a specific project or event? Will it be an individual piece or do you need to make multiple copies or cohesive sets?
2. COLLECT inspiration
Pinterest is the obvious go-to place for inspiration these days, but if you’re making jewellery for example, don’t just look at other examples of jewellery. Instead, look at fashion and colour trends. When out and about, be aware of your surroundings and take pictures of interesting patterns and textures. Flick through books and magazines and observe colours that go well together. It doesn’t just have to be images that inspire you: perhaps it’s a film or piece of music, book or poetry, a quote or trending campaign that might resonate with you. Even if you are following someone else’s tutorial, use it as inspiration and think about how you can make it ‘yours’.
3. BRAINSTORM
Get yourself a sketchbook and make notes and sketches of the things that have inspired you. Pick out and draw the elements that go together and play around with some basic ideas. Will your creation include other media: wire, fabric, resin, found objects? Take the elements you have identified and break them down into their component parts. Do you need to make several Skinner blends? Are you going to make a cane that combines all the elements?
4. DEVELOP ideas
Think about shape, size, proportion, colour and form. How many different ways can you express these elements and put them together? Make some prototypes: record each step in creating the piece, such as construction tips, colour recipes and shape templates.
5. Ask for FEEDBACK
Share your designs with friends, on and offline, in your guild or at craft fairs. Ask what people like or dislike about a piece. Remember, different people have different tastes, and everyone has an opinion - you don’t have to agree with everyone!
6. IMPROVE the design
Learn from the process and take notes as you go through the design process that will help you improve each time you replicate a piece. Take on board feedback that is helpful and constructive. Focus on finishing your piece well. Consider how will you present it at a fair or package it if sending to a customer or as a gift. Will you include a backstory or information about yourself?
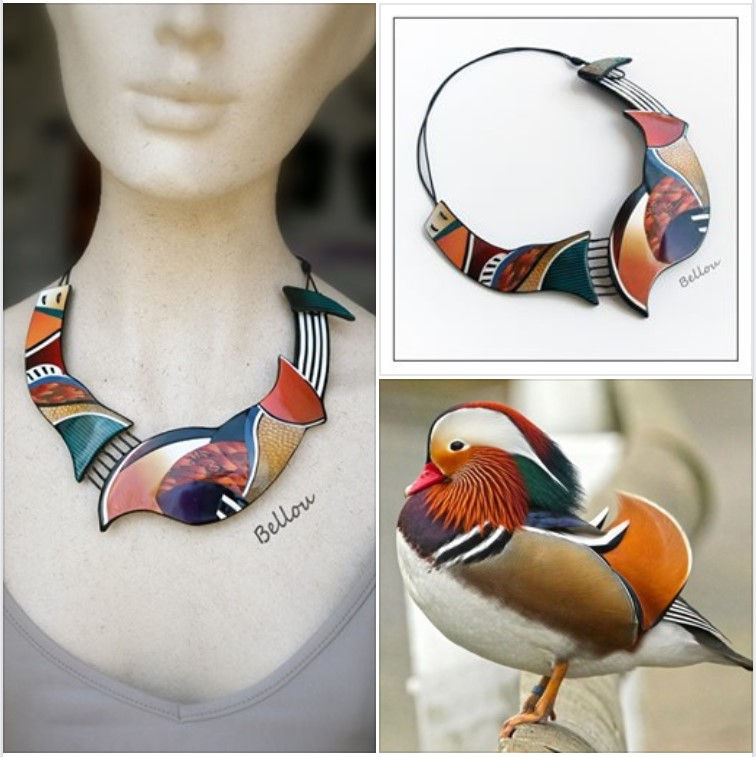
Here’s a superb example of the design process, by French artist and teacher Bellou Meyer, which was inspired by a photograph of a Mandarin duck. Do take a look at her Facebook page for more inspiration.
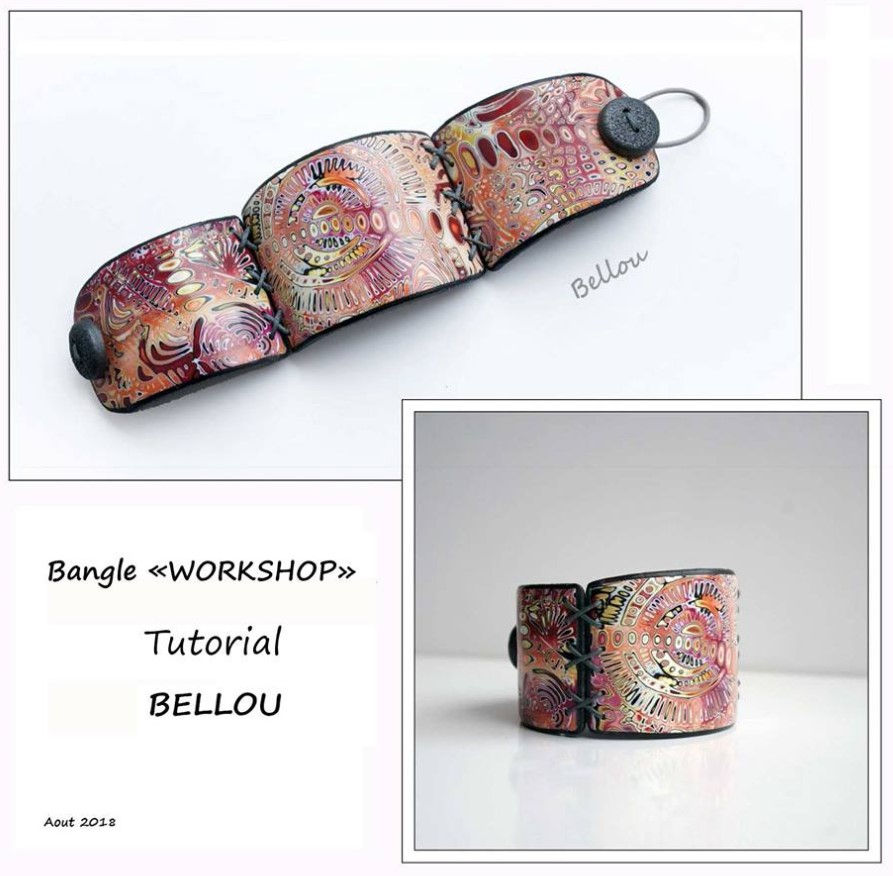
Bellou also has a tutorial in English for a lovely mokume gane bangle.
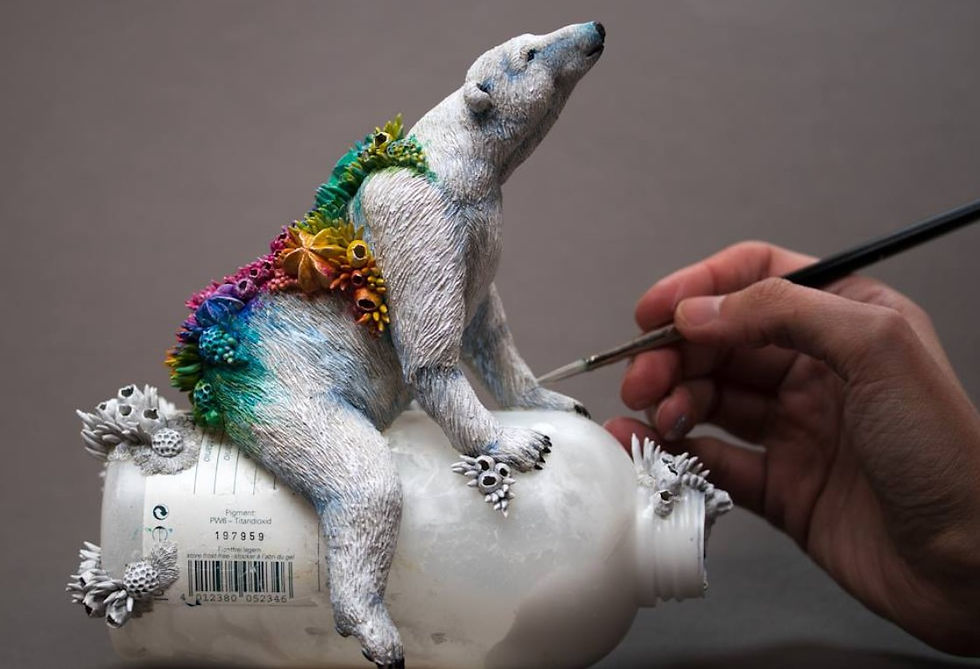
Inspired by natural forms, Stéphanie Kilgast grows colourful organic sculptures on human-made objects, celebrating the beauty of nature in a dialogue with humanity, questioning the lost balance between human activities and nature.
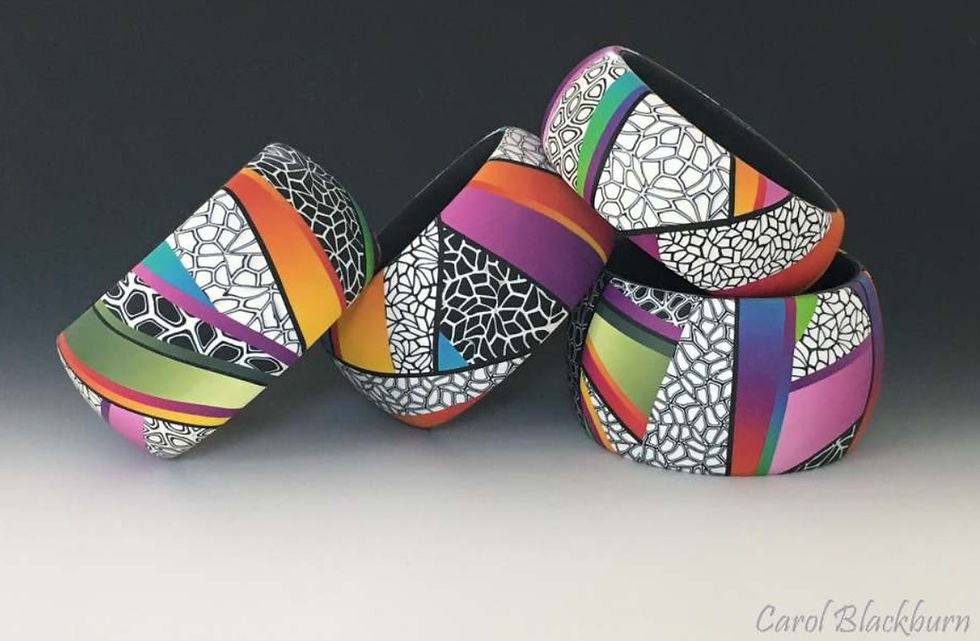
Here, British artist, Carol Blackburn’s work is heavily influence by colour and pattern which stems from her days as a textile designer.
I hope this post helps you in the design process of your own creations and has inspired you to follow your own creative journey. Let’s be honest, the flow chart below by illustrator, Rachel of Citrus & Mint Designs is probably a lot more realistic!!

